
OVERCLOCK ANY GPU
Here's a complete step-by-step guide to overclocking any GPU whether it be Nvidia, AMD or even and Intel GPU using MSI Afterburner, with Kombustor for stability testing. This guide is aimed at beginners but is detailed enough for most users. It covers:
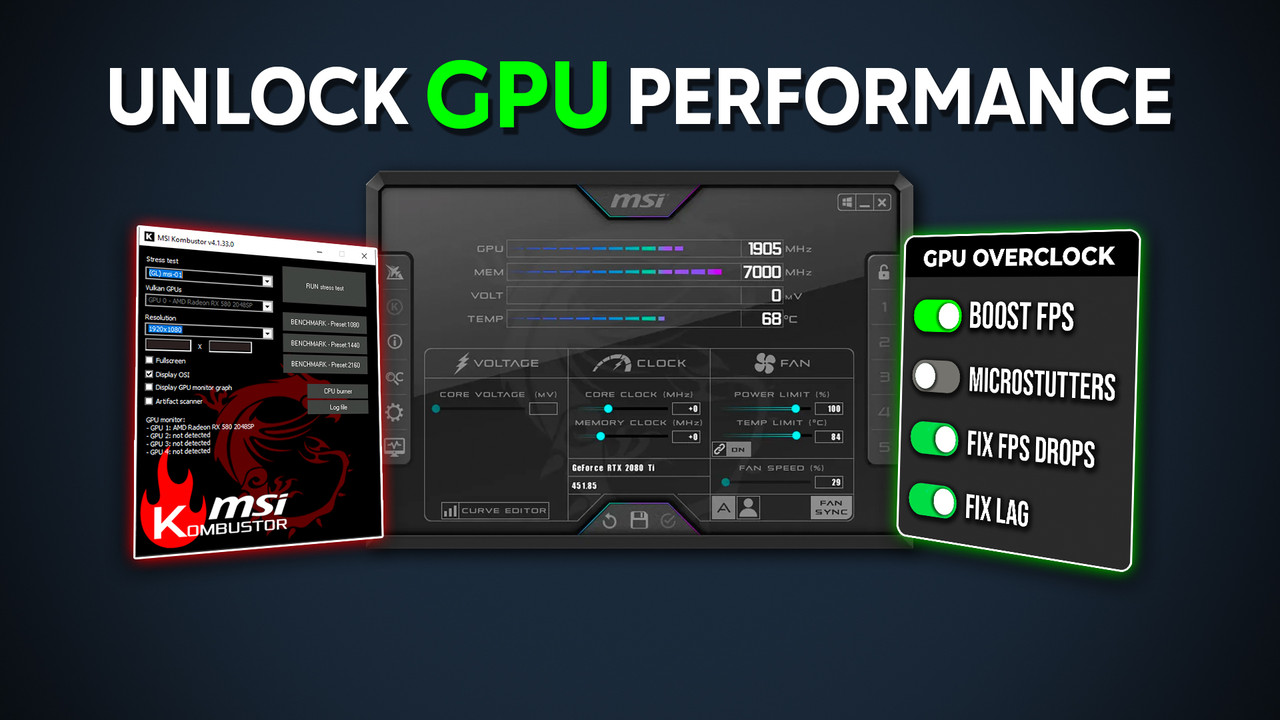
- Setting up MSI Afterburner and Kombustor
- Performing a safe, stable overclock
- Testing and monitoring
- Saving profiles and enabling auto-start
✅ What You Need
MSI Afterburner: GPU overclocking utility 🔗 Download MSI Afterburner
MSI Kombustor: GPU stress testing tool 🔗 Usually installed with Afterburner, or Download Kombustor
🔧 Step 1: Setting Up MSI Afterburner
Power Limit: Slide it all the way to the right (max %)
Temp Limit: Also slide to the right. This tells the GPU it can go hotter before throttling.
Fan Speed: Set it manually to 70–100% to keep things cool.
- Or enable “Auto” and adjust the fan curve in Settings > Fan if needed.
💡 You’ll hear more fan noise, but it’s better for safe overclocking.
🧪 Step 3: Run Kombustor to Establish a Baseline
- Launch Kombustor (via the 'K' icon in Afterburner)
- Select a resolution that matches your gaming resolution (e.g., 1920x1080 or 2560x1440).
- Start the test (e.g., “GPU Stress Test” or “FurMark Donut”).
- Keep Kombustor running in the background while you overclock to monitor temperatures and stability.
🚀 Step 4: Start Overclocking the Core Clock
Increase in Steps of +20 MHz
Slide Core Clock (MHz) to +20
Click Apply (checkmark icon)
Watch Kombustor for 5–10 minutes:
- ❌ If it crashes or freezes → Dial back by 20–30 MHz
- ✅ If stable → Increase by another +20 MHz
Repeat until:
- Kombustor crashes
- You see graphical glitches (artifacts)
- Temperatures get too high (>85°C is pushing it)
🎯 Stop at the last stable value.
💾 Step 5: Overclock the Memory Clock
Again, increase in +20 MHz steps
- Slide Memory Clock (MHz) to +20
- Click Apply
- Monitor for crashes/artifacts in Kombustor
- Repeat the same process as the core clock
💡 Memory tends to go higher than core before failing, but don’t get greedy!
⚠️ Step 6: DO NOT Touch Voltage
Voltage increases can help push higher overclocks.
But they come with:
- 🔥 Higher temperatures
- 🧨 Increased risk of damage
- 🧾 Voiding warranties
Leave voltage at default. It’s not worth the risk for most users.
🔐 Step 7: Save Your Overclock Profile
Once you're happy with your stable overclock:
Click the Save (floppy disk icon) in MSI Afterburner
Select a profile slot (1–5)
Click the small Windows icon to the right of the profile buttons to:
- ✅ Enable “Apply overclock at startup”
🧼 Optional: Create Different Profiles
You can create multiple profiles for different needs:
- Profile 1: Max Overclock for gaming
- Profile 2: Moderate Overclock (quieter fans)
- Profile 3: Stock Settings (reset all values)
To switch profiles:
- Just click the number and hit Apply.
✅ Final Checklist
| Step | Task |
|---|---|
| ✅ | Max Power Limit and Temp Limit |
| ✅ | Set Fan Speed manually |
| ✅ | Match Kombustor resolution to gaming res |
| ✅ | Gradually increase Core Clock (+20 MHz) |
| ✅ | Gradually increase Memory Clock (+20 MHz) |
| ✅ | Monitor Kombustor for crashes/artifacts |
| ✅ | Save profile and enable auto-start |
| 🚫 | Do NOT increase voltage |
🏁 Done!
You now have a stable, safe GPU overclock tailored to your system. Enjoy better performance in games with minimal risk. 🎮🔥
VIDEO GUIDE
If you have any questions or confusion, join below!


0 Comments